Custom school planners are an excellent way to enhance organization and productivity for students, teachers, and parents. By designing a planner tailored to your school’s specific needs, you can create a valuable tool that fosters engagement and success. Follow this step-by-step guide to designing your own custom school planner.
Step 1: Define Your Planner’s Purpose
Understanding your goals will help you determine the features and layout needed for your planner. Start by identifying the primary purpose of your planner. Is it for:
- Helping students manage their time and assignments?
- Facilitating teacher-parent communication?
- Supporting goal setting and academic tracking?
Consider who will be using the planner. Tailor the design and features accordingly, as different groups have different needs:
- Elementary Students: Simple layouts with visuals, space for parent-teacher communication, and fun elements like stickers.
- Middle and High School Students: More detailed schedules, assignment trackers, and goal-setting sections.
- Teachers: Lesson planning pages, meeting notes, and professional development trackers.
Step 2: Choose a Layout Style
Decide on the overall layout of your planner. Popular options include:
- Daily Layouts: Best for detailed scheduling.
- Weekly Layouts: Great for an overview of the week’s tasks and events.
- Monthly Layouts: Ideal for long-term planning and highlighting key dates.
You can also mix and match layouts to suit different sections of the planner. For example, you might dedicate the first section of the planner to a monthly overview, providing a snapshot of key dates and events. The next section could focus on weekly layouts, offering more detailed spaces to break down tasks, assignments, and schedules.
Daily layouts can be included for particularly busy periods, such as exam weeks or project deadlines, allowing for a granular view of each day. This flexibility ensures the planner adapts to various needs throughout the school year, making it a truly versatile tool.
When designing the content of the planner, it is crucial to align the features with the specific needs of your audience.
- Yearly calendars can provide a comprehensive overview of the academic year, marking significant dates such as holidays, parent-teacher conferences, and exam periods.
- Monthly calendars offer a closer look at upcoming events, helping users prepare for what’s ahead.
- Weekly calendars are perfect for planning day-to-day activities, ensuring that tasks are organized and deadlines are met.
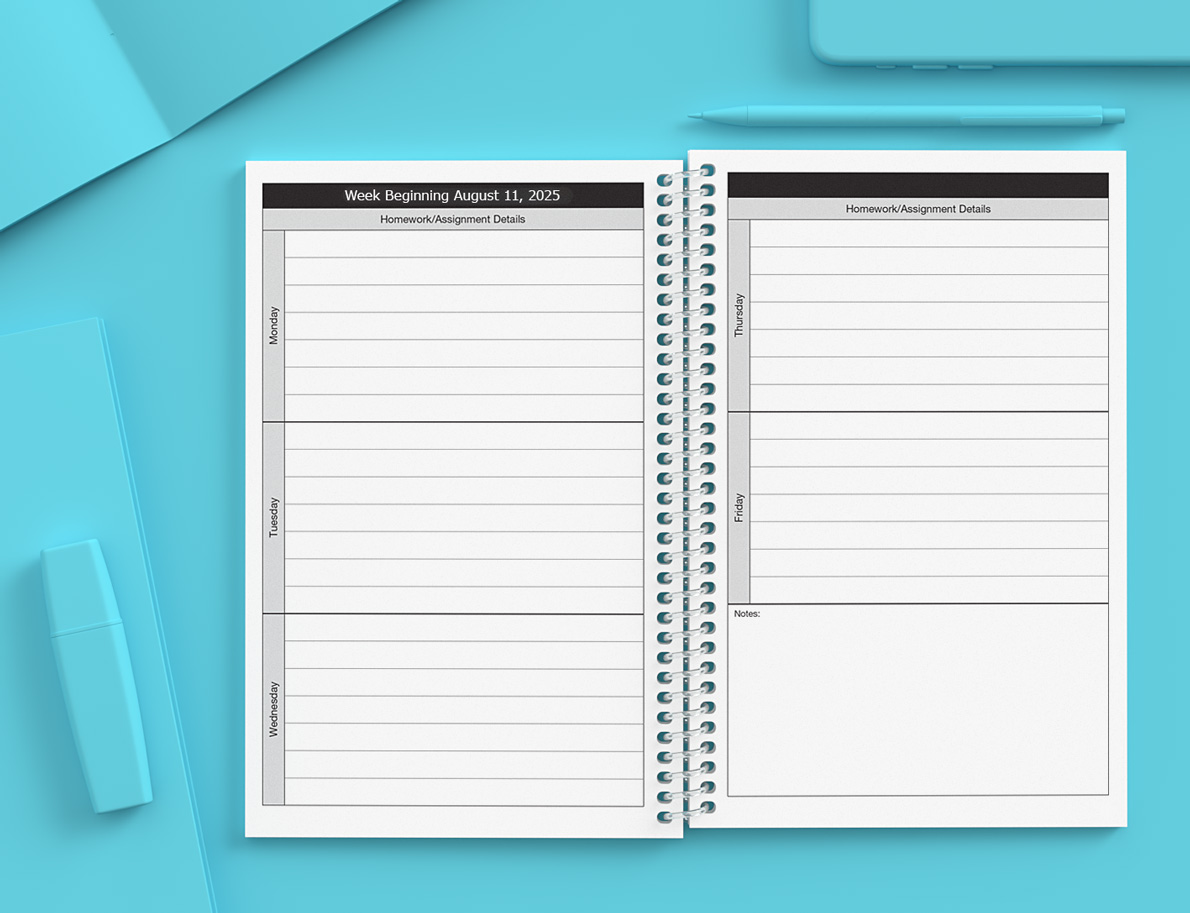
For students, homework and assignment trackers are indispensable. These sections allow them to record due dates, required materials, and notes about each assignment, promoting better time management and reducing the risk of missed deadlines.
Similarly, goal-setting and progress-tracking pages can serve as a motivational tool, encouraging students to set academic and personal goals while monitoring their achievements over time. Teachers and parents can also benefit from communication logs that facilitate structured updates about a student’s progress, behavior, or upcoming needs. These logs create a clear channel for collaboration, ensuring everyone involved in the student’s education is on the same page.
Resource pages are another essential feature to consider. These can include study tips, reference charts, or school policies, providing users with quick access to valuable information. For example, a reference page with multiplication tables or grammar rules can be especially helpful for younger students, while high schoolers might benefit from college preparation tips or time management strategies.
Step 3: Add Branding and Personalization
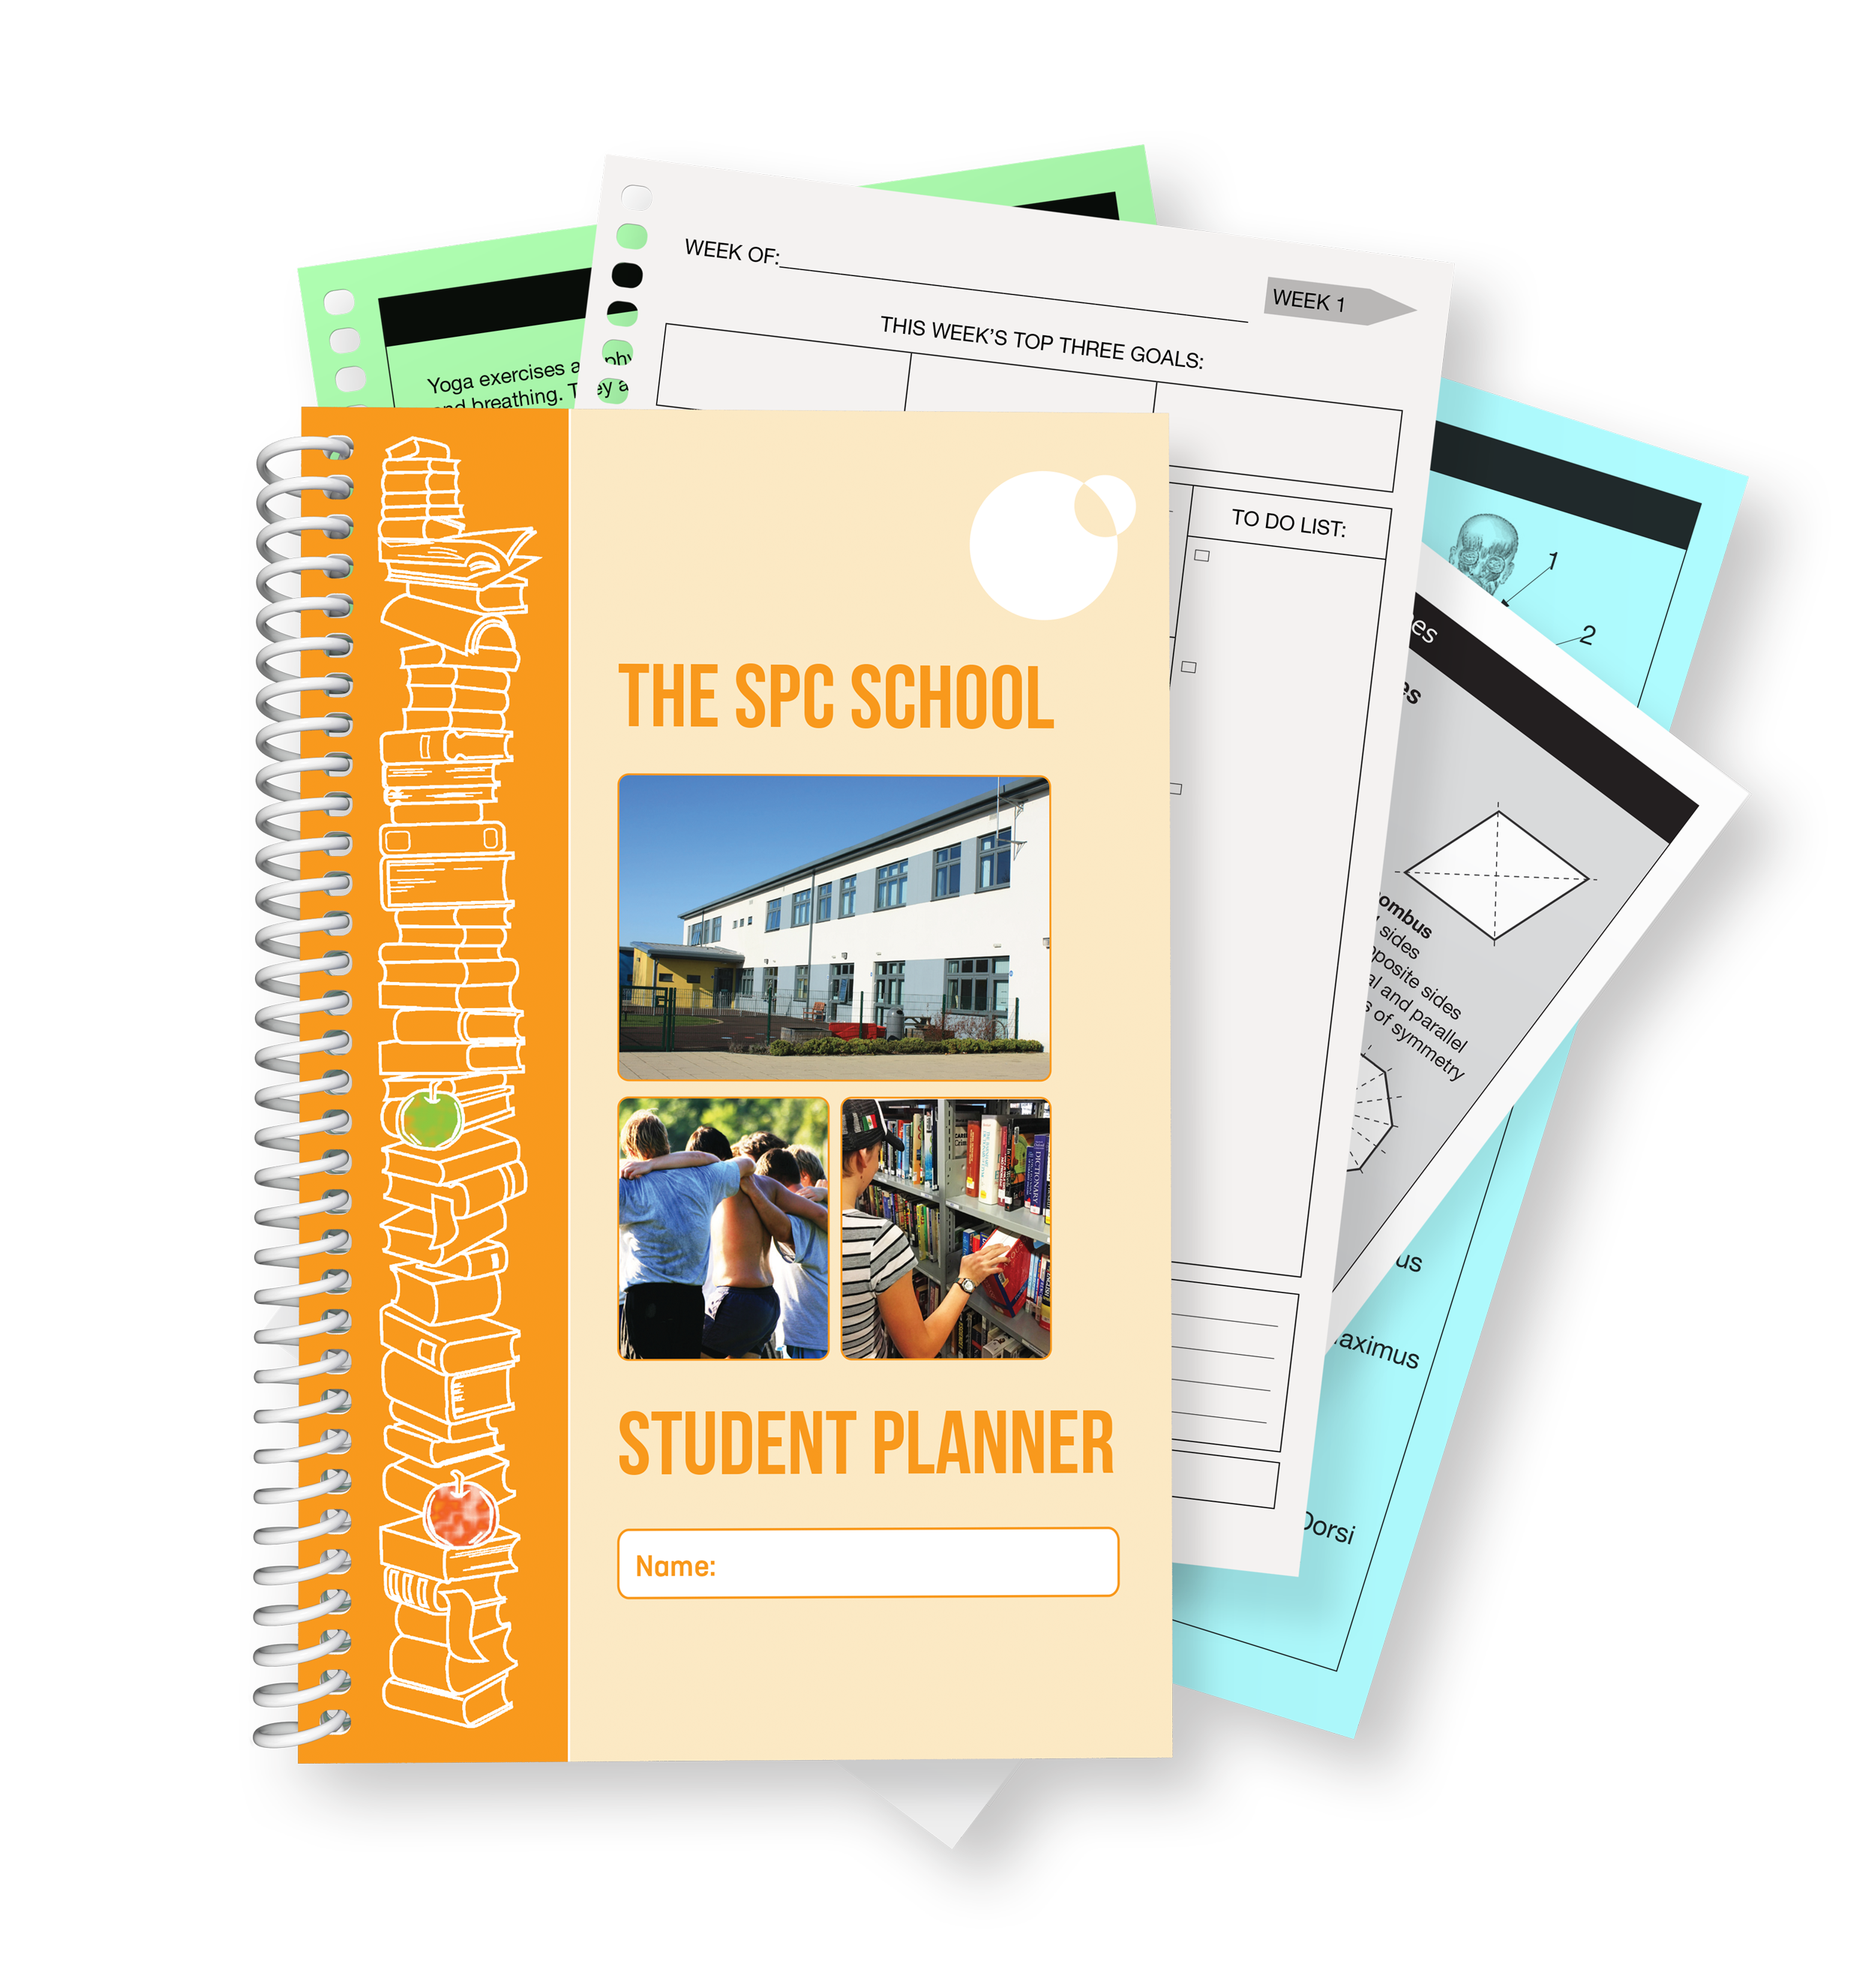
Making your planner unique is an important part of the design process. Incorporating your school’s branding ensures that the planner feels like a cohesive part of the school community. This can include prominently displaying the school’s logo on the cover, using the school’s colors throughout the design, and even featuring the school mascot as a playful design element. Adding a motivational motto or quote can inspire users each time they open the planner, fostering a positive mindset.
Personalization options take the planner a step further by making it feel truly special to each individual. For instance, you can include spaces for students to write their names or fill in their class schedules, creating a sense of ownership. These small touches not only enhance the usability of the planner but also instill a sense of pride and belonging within the school community. By combining practical features with personalized elements, your custom planner will stand out as an indispensable tool for both organization and school spirit.
Step 4: Focus on Visual Design
A visually appealing planner is more likely to be used consistently and effectively. The design elements you choose play a major role in making the planner both functional and enjoyable to use.
Color choices are equally critical. Using your school’s colors throughout the design helps reinforce school pride and creates a cohesive look. However, it’s important to balance vibrant colors with more neutral tones to maintain readability and prevent the design from becoming overwhelming. Consider using color coding to differentiate sections, such as using one color for academic pages and another for extracurricular activities.
For younger students, playful illustrations or themed borders can make the planner feel fun and engaging. For older students and teachers, clean, modern graphics might be more appropriate. Aim for a balance between aesthetic appeal and practical functionality.
Step 5: Incorporate Customizable Extras
To truly make your planner stand out, consider including customizable extras that enhance its functionality and usability. One popular feature is the addition of tabs, which make it easy to navigate between sections. Tabs can be color-coded or labeled, allowing users to quickly locate the information they need without flipping through pages aimlessly.
Stickers are a fun and functional way to engage users, particularly younger students. Provide sheets of stickers that can be used to mark important dates, highlight completed tasks, or decorate the planner. Stickers can include icons for events like tests, holidays, or birthdays, as well as motivational phrases to encourage students to stay on track.

Ready to Create Your Custom School Planner?
Designing a custom school planner may seem daunting, but with careful planning and the right partner, you can create a tool that transforms organization and communication in your school. Contact us today to start designing your perfect planner or to request a free quote!